Monday, December 30, 2013

Beard Attachment

Just the Beard


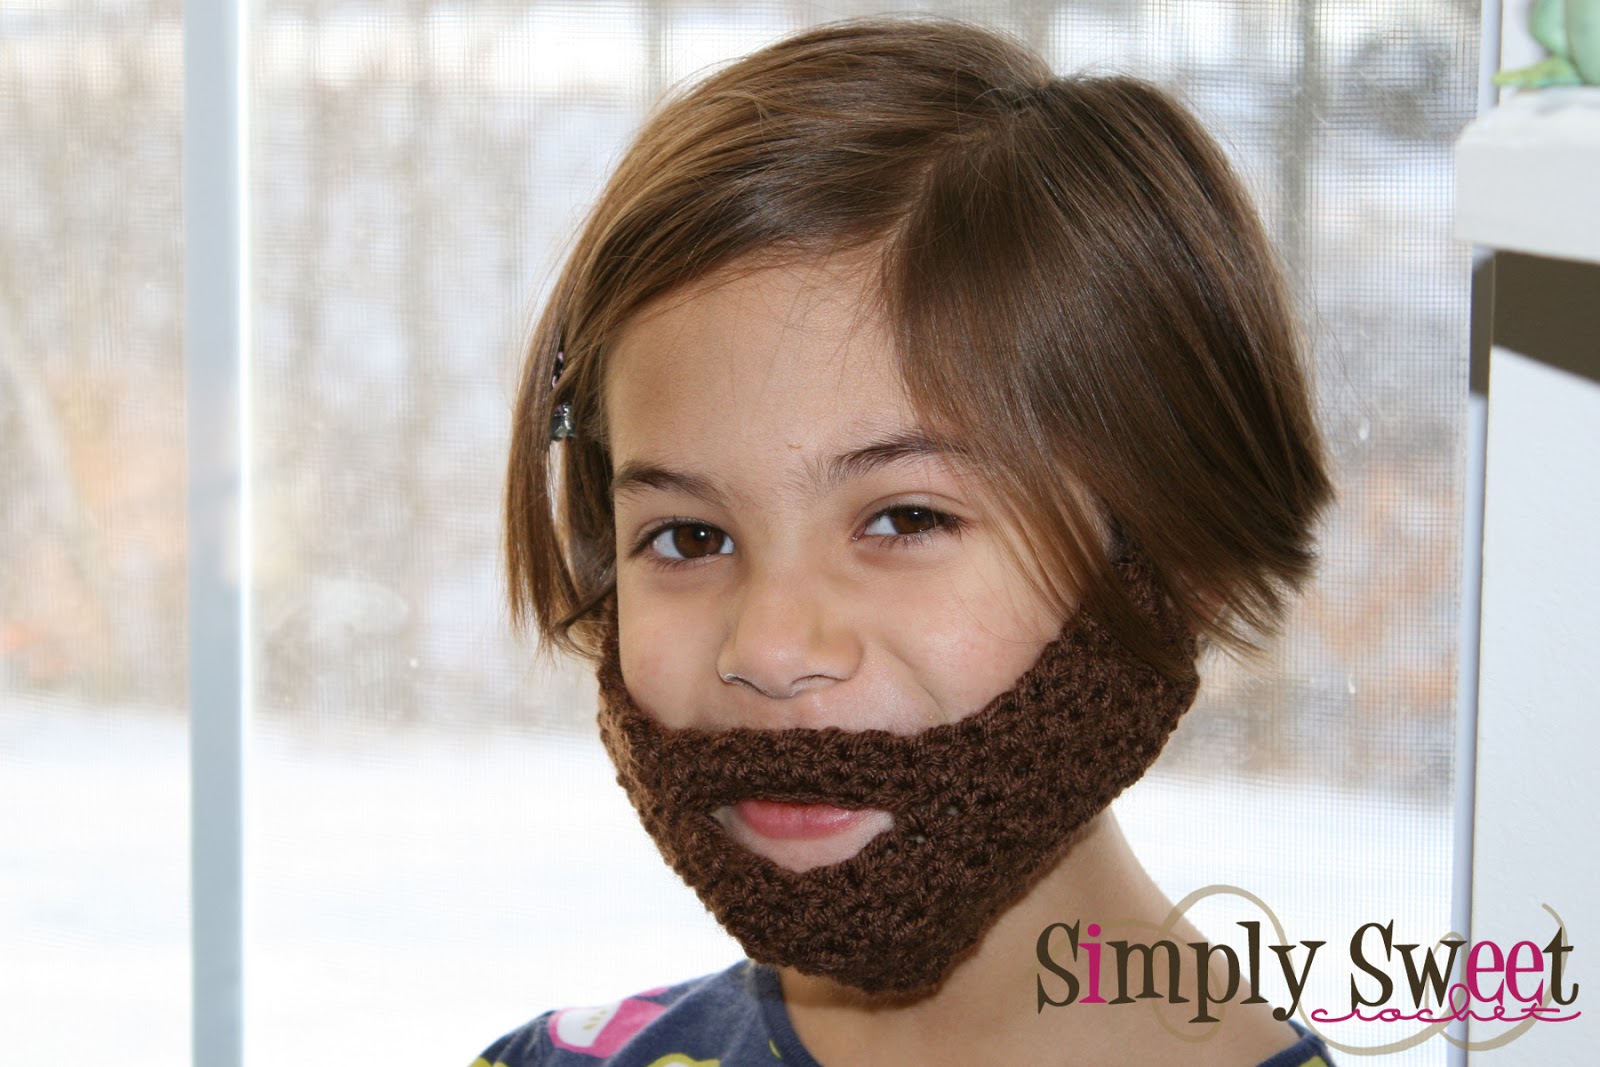
Have you ever wanted a beard or just something fun to keep your face warm? Well this is the perfect beard, with loops that go over your ears this beard offers fun and function at the same time and can be worm with your favorite hat.


©Copywrite Notice: Feel free to sell the finished product for this pattern; I just ask that you please give credit for the pattern by linking to http://www.simplysweetdesign.org. Use of my photos, rewriting, reselling, distributing the pattern itself is prohibited.
Thank you so much for your understanding ~Melinda~

This is just the child size for sizes for baby, toddlers & adults please download the full pattern here: Ravelry Beard Download

Materials:
   -    Medium worsted yarn (I used Lion Brand Vanna's Choice® acrylic yarn).
   -    Size J/10 (6.00MM) crochet hook
   -    Yarn needle
   -    Scissors

Abbreviations:
dc: Double crochet
sc: Single crochet
sc2tog: Single crochet two together
ch: Chain
sl st: slip stich
Fsc: Foundation single crochet (http://www.crochetspot.com/how-to-crochet-foundation-single-crochet-fsc/)
*… *: Repeat what is between

Notes:
    -    There is no turning chain, just turn your work and start in the first stitch. This helps to “gather” the ends for a better fit to the ear. If you are having trouble with this just make the last loop loose so you are able to turn.
    -    When you work the bottom of the edging along the Fsc, work between the sc instead of the single loops formed when making the Fsc.

Child (m) Beard:
          9” beard
R1: Fsc 25, turn
R2: sc in first stitch *sc in next stitch, dc in next stitch* 11 times, sc in next 2 stiches, turn
R3: sc in first stitch *dc in next stitch, sc in next stitch* 12 times, turn
R4: Repeat Row 2
R5: Repeat Row 3
R6: Repeat Row 2
R7: Repeat Row 3
R8: sc, *sc, dc* 4 times (7 Fsc, skip 7 stitches) dc, *sc, dc* 3 times, sc in last 2 stitches, turn
R9: Repeat Row 3
Edging: ch 1, //along side 1// sc 2tog 5 times, turn sc 5, sl st to the ch 1, ch 9, sl st to the first Fsc of R1, *sc, dc* along the bottom of the beard, ch 1 //along side 2 // sc 2tog 5 times, turn sc 5, sl st to the ch 1, ch 9, sl st to the first sc of R9, finish off and weave in ends

Wednesday, November 27, 2013

Mystery Holiday Crochet Along

Super excited to be joining in on this crochet along. I have no idea what I'm going to be making but for now you can just love on the pretty yarn that is about to get started on this project.
Want to join in on the fun as well? Check out the Design Wars Mystery Holiday Crochet along and you can follow my progress here or on my Ravelry project page.

Happy Thanksgiving!!

Monday, November 25, 2013

Chevron Braids

Chevron Braids
These 2 color 4 strand braids are a fun addition to any hat and go great with my Snowflake Earflap Beanie

Measure and cut for each braid
5 strands of color A at 36”
5 strands of color B at 36”

To make a 4 color braid:


Pull through bottom of earflap to make a loop in the center of the strand and feed the ends through to attach the strands.


Divide the strands into 4 sections – 2 sections of color A and 2 sections of color B. 

Each section would have 5 strands of the color.

So you have sections: 1A 2B 3B 4A


Now you are going to cross the outside 2 sections  to the inside

In crossing you will have:
1)      2B 4A 1A 3B
2)      4A 3B 2B 1A
3)      3B 1A 4A 2B
4)      1A 2B 3B 4A
Continue crossing the outsides to the end and you’ll get an arrow effect on the braid. Tie off and do the second braid. Before making the end ties tight make sure they are the same length then tighten the knots at the end and trim the ends


©Copywrite Notice: Feel free to sell the finished product for this tutorial; I just ask that you please give credit for the pattern by linking to simplysweetdesign.org.
Use of my photos, rewriting, reselling, distributing the tutorial itself is prohibited.
Thank you so much for your understanding
~Melinda~

Sunday, August 11, 2013

Stacy Headwrap

Stacy Headwrap
As summer comes to a close the perfect headwrap to keep those ears warm on chilly mornings and crisp nights.

Download a PDF of this pattern from here: 


©Copywrite Notice: Feel free to sell the finished product for this pattern; I just ask that you please give credit for the pattern by linking to simplysweetdesign.org.
Use of my photos, rewriting, reselling, distributing the pattern itself is prohibited.
Thank you so much for your understanding
~Melinda~

Saturday, August 3, 2013


For my 3rd Anniversary of opening my Simply Sweet Designs and for my 10th wedding anniversary I joined up with a bunch of other vendors to host a super awesome giveaway. 

Joining me are the following:
Details and information

* Simply Sweet Designs: Selected hat/headwrap & Digital designs
* Faithfully Hooked - $10 credit for any custom hat or animal
* Calla Rose Boutique - One custom headband with option of adding a second headband at 30% off (second headband purchase not mandatory)
* Cre8tive Cre8tions - Gift Set as pictured
* Hook Yourself - Winner can chose either the PDF pattern or finished item for my Summer Sunflower beanie.
* Sewing by Shannon Cox - $10 Store Credit
* Snapdragons & Peonies - Scarf
* Cherishable Creations - 2 Patterns of winners choice
* Autumn Berry Crochet - Winner can choose either the Regan Slouchy pattern OR a finished Regan Slouchy
* Kuddly Kreations by Kari -1 Pair - Summer Strappy Sandals
* Bella Bean's Crochet Creations - Give away- kids water bottle holder ~ Pick Boy or Girl

Enter here for a chance to win: http://bit.ly/15dchWD
Winners will be chosen on August 9th 

Wednesday, July 10, 2013

Sugar & Spice Headband


Sugar & Spice Headband


Pattern moved to new blog: http://www.simplysweetdesign.org/?p=57


You know the old poem about little girls being made from sugar & spice and everything nice? Well here is a headband that is sure to please. A quick project that can be customized in so many ways. Plus this headband has such a nice stretch to it that it keeps all those flyaway hairs at bay.

Download a PDF of this pattern from here: Sugar & Spice Headband on Ravelry


©Copywrite Notice: Feel free to sell the finished product for this pattern; I just ask that you please give credit for the pattern by linking to simplysweetdesign.org.

Use of my photos, rewriting, reselling, distributing the pattern itself is prohibited.
Thank you so much for your understanding
~Melinda~


Friday, July 5, 2013

Bow Organizer

Simply Sweet Bow Clip Holder


If you have kids who are as into bows and pretty little hair clips as much as mine are then you probably have bows and other little things on clips all over the place. I've tried ribbons and drawers and everything to try and keep them in one place and displayed so they can pick out what they want to wear for the day quickly. So I needed a longer holder for their bows with good spacing where I could let them put their bows away on. And so the Bow Clip Holder was designed. I made this to be approximately 2 feet long and you can make yours as short or as long as you need. This is a great stash busting project as it doesn't take much yarn and the mesh design of it lets you place bows any where along it.

Download a PDF of this pattern from here:Bow Clip Holder


©Copywrite Notice: Feel free to sell the finished product for this pattern; I just ask that you please give credit for the pattern by linking to http://www.simplysweetdesign.org. Use of my photos, rewriting, reselling, distributing the pattern itself is prohibited.


Thank you so much for your understanding ~Melinda~


Materials:
  • Yarn – WW (Hobby Lobby I Love This Yarn)
  • Hook – H/5.00mm

Abbreviation:
  • sc - Single Crochet
  • ch – Chain
  • slst – Slip Stitch
  • *…*: repeat

Pattern:
Chain length you want any odd # will work
R1 – sc in 2nd ch from hook  *chain 3, skip next ch, sc in next* repeat to end, ch3 turn
R2 – sc around the first ch 3 *ch 3, sc around next ch 3* repeat to end, ch 1 turn
R3 –sl st around the first ch 3 *ch 1, sl st around next ch 3 space* repeat to end, finish off.

Notes:
As you are working Rows 1 & 2 you will notice the “ribbon” curling, don’t worry about this as it will straighten out with the final row. If you do your initial chain a little looser it can help the curving as well.

You can attach your favorite flower or wooden letter or shape to the top. I used a pre-cut/painted owl and used the hot glue to attach it.

Wednesday, June 12, 2013

Alex Mini Blanket


Alex Mini Blanket
This is a small blanket perfect for any gender and can be used as a quick blanket for the car, stroller or a little burst of texture and color for photos. 

Purchase a PDF of this pattern from here: Alex Mini Blanket on Ravelry


©Copywrite Notice: Feel free to sell the finished product for this pattern; I just ask that you please give credit for the pattern by linking to simplysweetdesign.org.

Use of my photos, rewriting, reselling, distributing the pattern itself is prohibited.
Thank you so much for your understanding
~Melinda~


Thursday, May 30, 2013

Crazy Diamonds

When I first learned how to crochet back in 2000 I was between my freshman & sophomore year of college and these sweet old ladies at camp taught me how over a weekend. My first project was going to be a purse but it ended up more triangular than rectangular but I was hooked on the craft of crochet. After that I started making a few blankets and my mom seeing how much I enjoyed it fed my new hobby. She was on a trip and stopped into a local yarn shop found a cute pattern and bought me enough yarn to complete the project. Love her! So I started on the pattern. Graphed out how many squares of each color combination I needed. Tied off some knots, sewed the square together, got frustrated, got board, packed it away. Got married, moved 7 times and still it remained. I had spent at least 6 months had just a few rows done, a couple of squares to add and tons left to do. But I hate an unfinished project so earlier this month at least 9 years (if not more) later I pulled it out. And cringed. Short ends, tied knots bad joins.

I was determined to finish the blanket and figure out how to undo some of the mess I did with the knots and weave in ends correctly. I started with finishing all the blocks I needed with nice long tails for sewing. The started on the sewing task. My least favorite part of this entire endeavor I don't enjoy hand sewing at all so this was quite the task to join all of these. I didn't like the join method in the pattern as it was sc-ing the pieces together creating a ridge on the back but I like the smoothness of whip stitching and how it can be flipped to either side.

Once all the pieces were done and sewn it was on to the edging and making sure I had the same number of stitches on all sides which was tough given the difference in the tensions of the old pieces and the new pieces but once that first go around was done realized how much of a difference the tensions make in a blanket, wow! So did a quick wet blocking. Pinned down the blanket to a mattress, and layered a wet towel over it just to dampen the blanket some so I could continue with the rest of the edging easier.

And now the blanket is done! Edging all finished, still a little uneven but need to get a set of blocking pins the little straight pins I used came out too easily and didn't hold some of the edges in place well enough and the overall shape and drape of the blanket would benefit from a good steam blocking since it's a wool blend.

But isn't it pretty? I won't be doing this pattern again but I do have some yarn left that I think I'll make a couple of granny square loveys with. I've been wanting to make them for a while now.


Monday, February 11, 2013

Legwarmers Pattern

Happy February!

I have a new pattern for you this month and it's a free one. These were inspired by a little ballerina friend of mine who needed some cute legwarmers for class. Hope you enjoy!

This pattern is a free download through Ravelry
Click the logo below to download the pdf pattern

Wednesday, January 2, 2013

Fan Giveaway

Since I know it's a little hard to read and I couldn't fit all the details on there :) 

Leave a comment on this post letting me know that you shared the picture on my facbook fan page (it's almost identical to this one) and on Saturday Jan 5th I'll take the number of comments and pick a random number using random.org and that comment maker will be the winner.  You have until the end of the day Friday Jan 4th to enter.

What you win - 
Pick from any of basic hat styles that I have posted in my facebook albums and let me know your size and color you would like (sorry no character hats). Shipping within the US is free but if it's international I ask that you pay 1/2 the shipping charges. 

That about covers it - I'm not doing the give away completely on facebook because there are weird rules around that kind of stuff so we'll do this on the blog. 

Love you all! Thanks so much for your support!